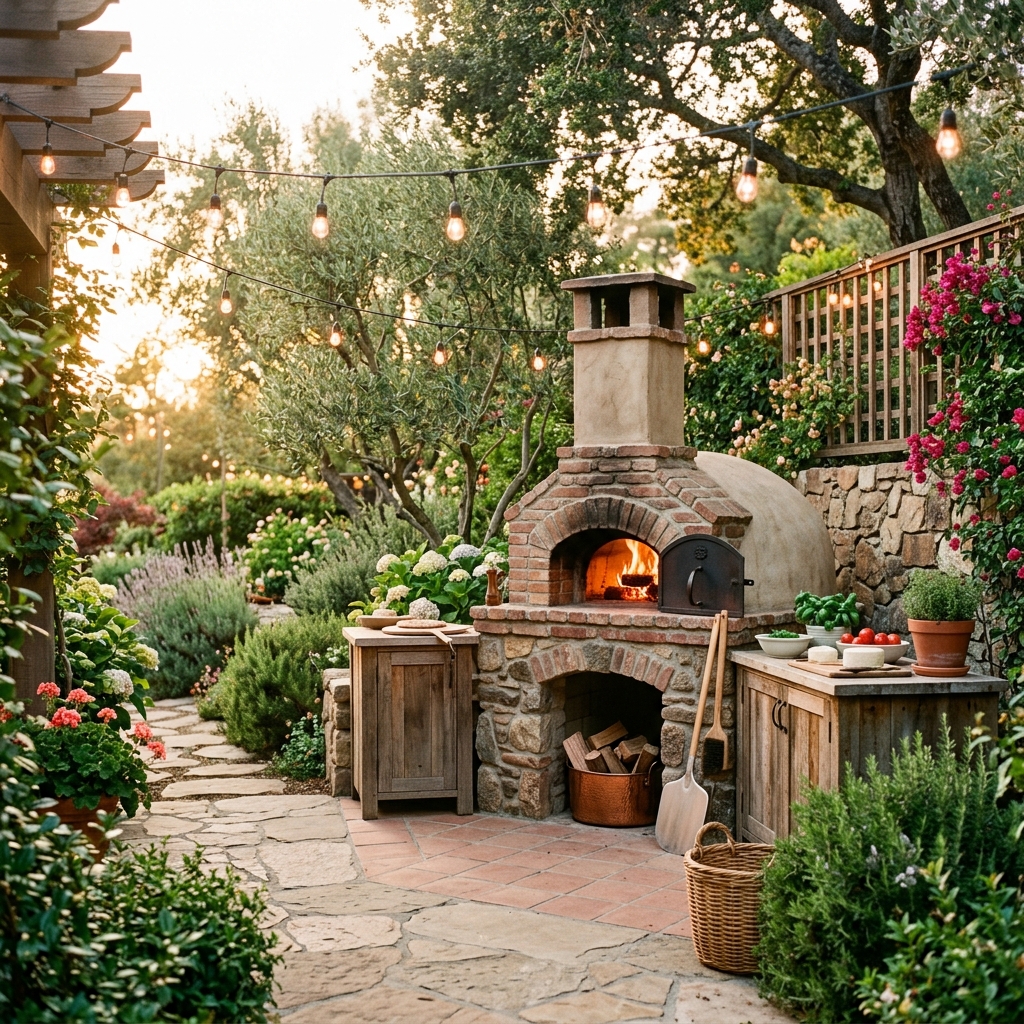
Building your own wood fired pizza oven is one of the most rewarding DIY projects you can take on. When you're done, you'll have a permanent outdoor cooking station that makes incredible pizza and can last for decades.
Is it a lot of work? Yeah, it is. But is it worth it? Absolutely.
This guide will walk you through the entire process, from choosing a design to firing up your first pizza.
Before You Start: Choosing Your Design
There are several types of wood fired ovens you can build. The most common are:
Barrel Vault Oven
Shaped like a half-cylinder, this design is simpler to build because you're working with straight lines on the sides. It's easier to form with bricks and works great for both pizza and bread.
Igloo / Dome Oven
The classic Neapolitan-style oven. The dome shape is more efficient at reflecting heat and creates better airflow (read more about how a wood fired pizza oven works). It's harder to build (cutting bricks at angles to form a curve), but it performs better overall.
Pompeii Oven
Named after the ancient Roman ovens found in Pompeii, this is a variation of the dome style with a slightly flatter profile. It's the most popular design for home builds.
For this guide, we'll focus on building a basic dome oven, since it's the most versatile and widely used.
What You'll Need
Materials
- Firebricks (about 200-250) — These line the inside of the oven and can handle extreme heat
- Regular bricks or concrete blocks — For the base/stand structure
- Refractory mortar — Heat-resistant mortar for joining firebricks (regular mortar will crack)
- Portland cement and sand — For the base and outer structure
- Ceramic fiber insulation blanket — To wrap around the dome for heat retention
- Chicken wire or stucco mesh — To hold the outer render in place
- Vermiculite or perlite — Mixed with cement for an insulating layer
- A metal flue pipe — For the chimney (6-8 inch diameter)
- Rebar and concrete — For the base slab if building from scratch
- A wooden door or metal door — Optional, for retaining heat when the oven is closed
Tools
- Tape measure and level
- Brick trowel and pointing trowel
- Angle grinder with diamond blade (for cutting bricks)
- Wheelbarrow for mixing
- Rubber mallet
- String and compass for drawing arcs
- Safety gear (gloves, eye protection, dust mask)
Estimated Cost
A basic DIY wood fired oven typically costs between $500 and $1,500 in materials, depending on your area and the quality of materials you choose. Compare that to a professionally built oven which can cost $3,000 to $10,000+.
Step 1: Build the Base
Your oven needs a sturdy base at a comfortable working height (about 36-40 inches). The oven itself is heavy — typically 1,000 to 2,000 pounds — so the base needs to be solid.
Option A: Concrete Block Stand
Build a U-shaped or rectangular stand using concrete blocks. Fill the cores with rebar and concrete for strength. This is the most common approach and takes about a day.
Option B: Brick and Mortar Stand
More attractive but more work. Build a brick pillar structure with a poured concrete countertop on top.
Option C: Metal Frame
Weld a steel frame and pour a concrete slab on top. Faster but requires welding skills.
No matter which option you choose, the top surface needs to be flat, level, and at least 4 inches thick concrete slab reinforced with rebar.
Step 2: Lay the Insulating Floor
On top of your concrete slab, you need an insulating layer so heat doesn't escape downward.
Mix vermiculite and Portland cement at a ratio of 5:1 (five parts vermiculite to one part cement). Spread this mixture about 3-4 inches thick on top of the slab. Let it cure for 24-48 hours.
This layer acts as a thermal break — it keeps the heat in the oven floor instead of bleeding into the concrete below.
Step 3: Lay the Oven Floor
On top of the insulation, lay your firebricks flat and tight together to form the cooking surface. Use no mortar between the floor bricks — they should be placed tightly together in a running bond pattern (like a brick wall laid flat).
The floor should be about 42-48 inches in diameter for a standard home oven. This gives you enough room to cook two 12-inch pizzas at once.
Make sure the floor is perfectly flat and level. Any bumps or dips will affect how your pizza sits and cooks. Use a long straightedge to check.
Step 4: Build the Dome
This is the most challenging part, but also the most rewarding.
Creating a Form
The easiest method is to build a sand form:
- Pile damp sand on top of the oven floor in a dome shape
- Shape it to your desired interior dimensions (about 16-18 inches high at the center for a 42-inch diameter oven)
- Cover the sand with wet newspaper so it separates easily from the bricks
Laying the Bricks
Start laying firebricks around the base of the dome, standing them on end and angling them inward slightly. Use refractory mortar between each brick.
As you work your way up the dome, you'll need to cut bricks at increasingly steep angles to maintain the curve. An angle grinder with a diamond blade makes this manageable.
Key proportions: The door opening height should be about 63% of the interior dome height. So for an 18-inch interior dome, the door opening should be about 11 inches high. This ratio is important for proper airflow and draft.
The door width should be about 50% of the interior diameter. For a 42-inch oven, that's about 20-21 inches wide.
Closing the Top
As you near the top of the dome, the bricks get smaller and the angles get tighter. Many builders leave a small opening at the very top and cap it with a flat piece of firebrick or a custom-cut keystones.
Let the dome cure for at least 3-5 days before removing the sand form. Scoop out the sand through the door opening.
Step 5: Build the Chimney and Entrance
Build a small landing/vent area at the front of the dome where the flue pipe will sit. The chimney should be positioned at the front of the oven, just above the door opening.
Install a 6-8 inch metal flue pipe, extending it at least 24-36 inches above the oven. This creates a draft that pulls air through the oven and draws smoke out.
The entrance area can be as simple as a brick archway or as elaborate as a full decorative facade.
Step 6: Insulate the Dome
Proper insulation is critical. Without it, your oven will lose heat quickly and use much more wood.
- Ceramic fiber blanket: Wrap the entire dome in 2-3 layers of 1-inch ceramic fiber insulation blanket. Secure it with chicken wire.
- Vermiculite/cement layer: Apply a 2-3 inch layer of vermiculite-cement mix over the blanket.
- Render/stucco: Apply a final waterproof render coat to protect everything from rain.
Some builders add a decorative tile or stone veneer over the render for aesthetics.
Step 7: Cure the Oven (Very Important!)
You cannot just build a fire and start cooking. The oven needs to be cured slowly to drive out moisture without cracking the masonry.
Here's the curing schedule:
- Day 1: Very small fire (just a handful of kindling). Keep it going for 2-3 hours.
- Day 2: Slightly larger fire. 3-4 hours.
- Day 3: Medium fire. 4-5 hours.
- Day 4: Larger fire. 5-6 hours.
- Day 5: Full fire. Let it get as hot as it will go.
During curing, you'll see steam coming off the oven. That's moisture evaporating from the mortar and concrete. This is normal and expected. If you skip curing and go straight to a full fire, the rapid steam expansion can crack your oven.
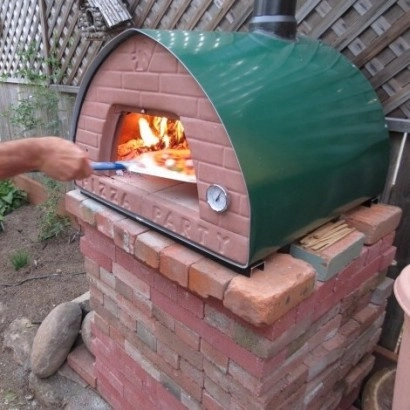
Step 8: Your First Cook
Once the oven is cured, it's time for pizza!
- Build a good fire using dry hardwood
- Let it burn for about an hour until the dome clears (goes from black to white)
- Push the fire to one side
- Sweep the floor
- Slide in your first pizza and watch the magic happen
The first pizza from an oven you built with your own hands is an experience you'll never forget.
Tips for Success
- Take your time — This isn't a weekend project. Plan for 3-5 weekends.
- Get the proportions right — Door height to dome height ratio (63%) and door width to diameter ratio (50%) are critical for performance.
- Don't cheap out on firebricks — Regular bricks will crack under the heat. Use proper firebricks rated for high temperatures.
- Insulate, insulate, insulate — The difference between a well-insulated and poorly insulated oven is massive in performance.
- Join a community — Forums like the Forno Bravo community and r/pizzaoven on Reddit have incredibly helpful builders who love sharing advice.
Building a backyard wood fired oven is a serious project, but thousands of home cooks have done it successfully. With patience, good materials, and this guide, you can too.
Comments (0)
No comments yet. Be the first to start the conversation!